Thinking this is the year to finally grow some of your own food? Even if you have limited space, limited time, and don’t know where to start, you can create a functional, producing garden in your space. No-dig gardens can be started in one weekend. With a few simple supplies and a little guidance, you can build a regenerative, low-maintenance garden that’s better for your body, time, and soil. Read on to learn how to start your garden. No tilling, no heavy lifting, and no endless weeding.
Why a No-Dig Garden Works
Before you get into the materials and planting steps, it’s important to understand what makes a no-dig garden so effective. The core idea is simple: stop disturbing the soil. Instead of turning and tilling, the no-dig method builds layers of organic matter like compost, mulch and leaves, which gradually break down and feed the soil life below.
Conventional gardening often leads to nutrient depletion and burnout, for both the gardener and the soil. In contrast, no-dig approaches lead to stronger and more resilient soil microbiomes. This, in turn, lends to the long-term fertility of the soil year after year. Proper management with cover crops and mulch can also help to reduce future growth of weeds and ensure better water retention, meaning less frequent watering.
Build It In a Weekend
With a few cheap, accessible materials and a focused weekend, you can start growing clean, nutrient-rich food right outside your door. This is a setup that is guaranteed to regenerate itself over time… powered by worms, fungi, and a little weekly care. Your first step is getting together the materials you need to start your no-dig garden:
- Compost or aged manure: Provides a nutrient-rich base layer that feeds your plants and soil biome.
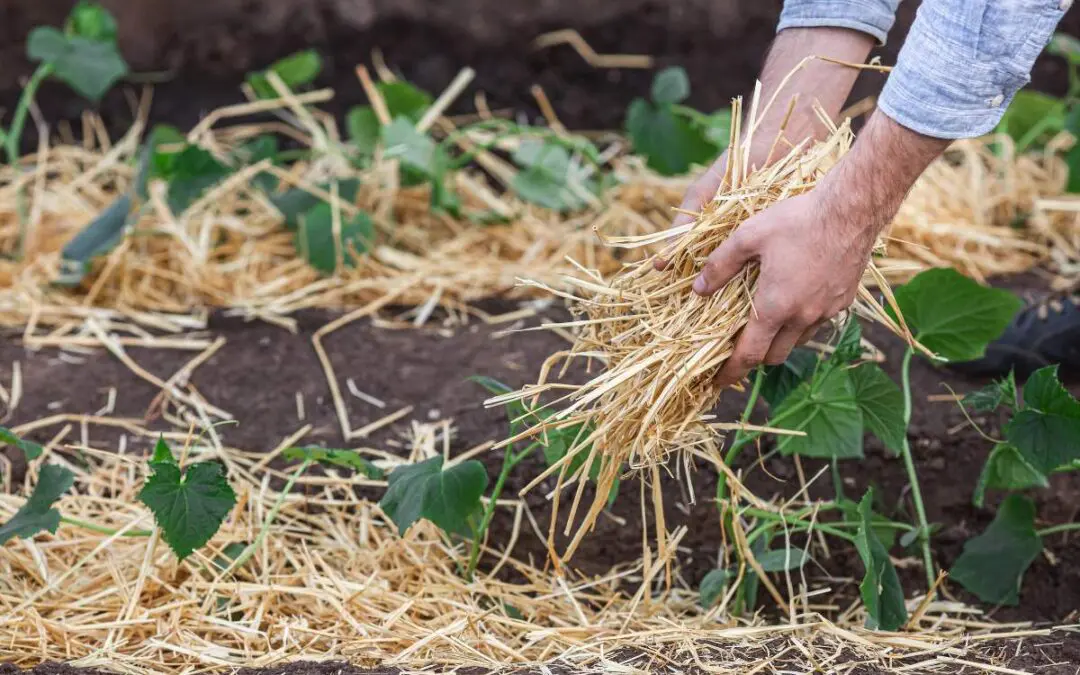
- Straw, leaves, or grass clippings: Acts as a mulch layer that insulates, retains moisture, and adds carbon.
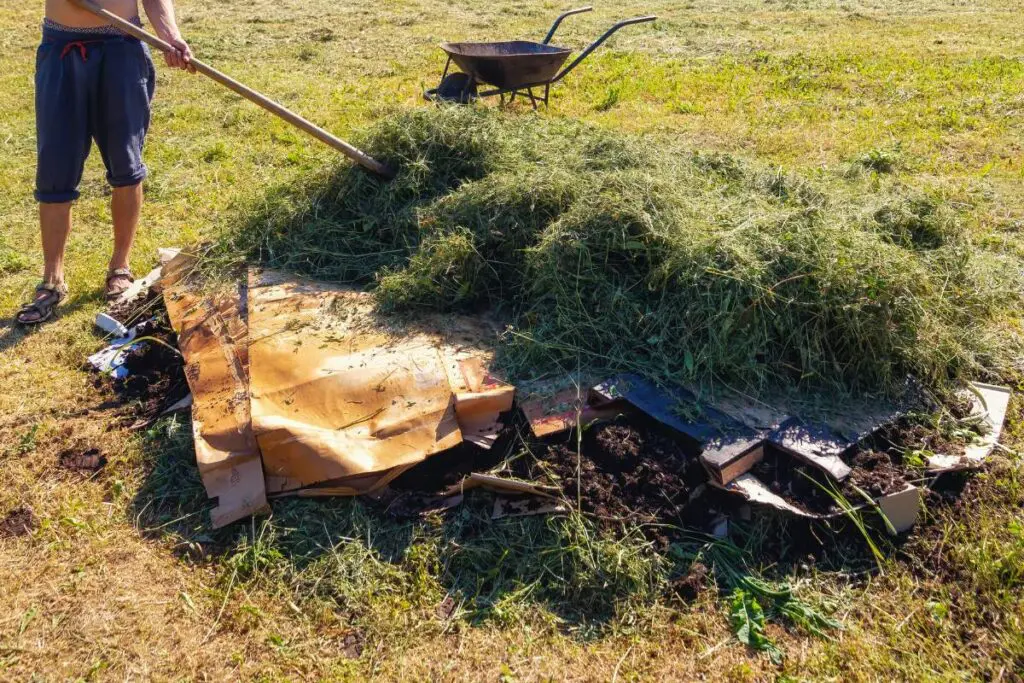
- Cardboard or newspaper: Serves as a natural weed barrier that blocks light but breaks down over time. Avoid glossy prints.
- Seeds or seedlings: Choose fast growers like lettuce, kale, herbs, or seasonal vegetables.
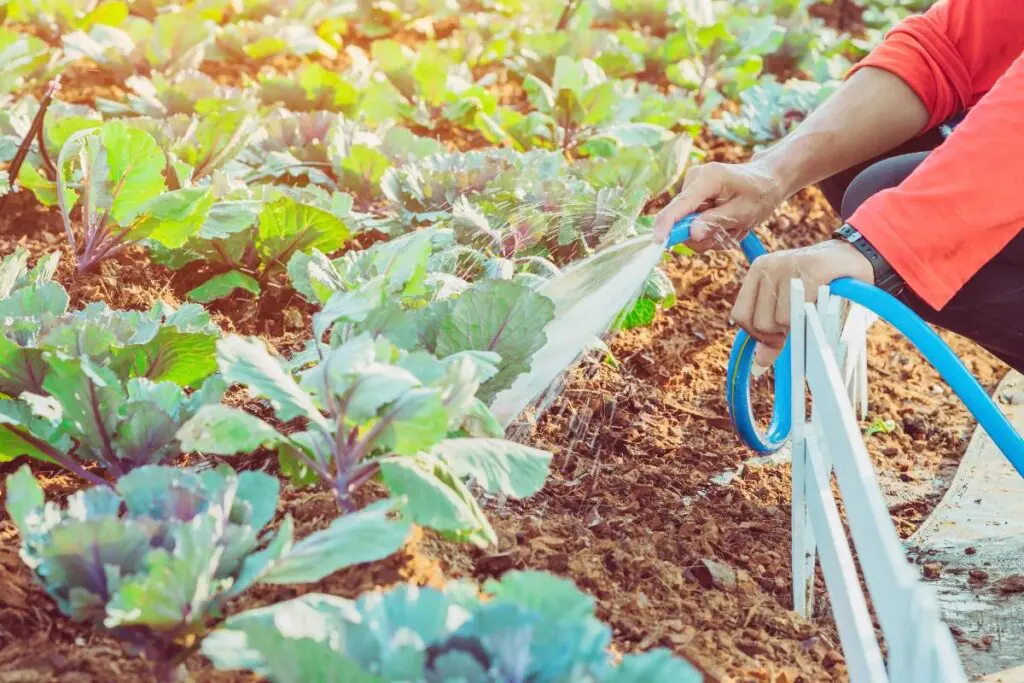
- Watering can or hose: Used to soak each layer thoroughly and keep soil organisms active.
If you really want to level up your garden, a raised bed frame or edging adds visual polish and keeps layers tidy. You can invest in some basic gardening gloves or tools to make the planting and layering smoother. Lastly, consider rock dust, wood ash, and worm castings, which are natural mineral boosters and support plant roots and microbial life. Also, remember that mineral support isn’t just for plants; your body thrives on it too. Just as compost nourishes the soil’s microbiome, broad-spectrum minerals help fuel your own cellular ecosystem.
Day 1: Site Setup and Soil Prep
Day one is all about creating the foundation. You’re prepping the ground so it becomes a thriving, self-sustaining ecosystem. Start by choosing an area that gets at least 6-8 hours of direct sunlight each day, drains well and has a relatively flat surface. Leave any existing weeds or grass alone.
Next, prep your chosen area. Lay down cardboard or several layers of newspaper directly over the area, overlapping the edges so light can’t get through. Wet it thoroughly so it stays in place and starts breaking down, essentially creating a weed barrier that suffocates existing growth while inviting in worms and microbes.
With your foundations ready, you can begin layering. Add 2-3 inches of compost or aged manure to act as your rich, loose, and nutrient-dense growing medium. On top, spread a 3-4 inch layer of straw, dry leaves, or untreated grass clippings. This mulch layer retains moisture and adds carbon to balance the compost’s nitrogen. You can sprinkle a handful of rock dust or wood ash for extra mineral content.
Day 2: Plant and Mulch
With your no-dig bed layered and prepped, day two is about planting, protecting and setting your garden up for hands-off success. Your first step is choosing what to grow. If you’re a beginner gardener, focus on energy on fast-to-mature, low-maintenance crops:
- Leafy greens like lettuce, kale, or arugula.
- Herbs like basil, cilantro, or parsley.
- Seasonal vegetables like radishes, zucchini, or bush beans.
To get your plants going, gently pull back the top mulch layer to expose the compost underneath, transferring your seeds and seedlings directly into the compost. Once in, water deeply to help roots settle and activate the microbial activity in the soil.
After watering, replace the mulch layer around the plants, carefully avoiding the stems. This mulch acts as insulation to reduce weed pressure and protect the soil surface from erosion or nutrient loss. One final optional but helpful step is installing a simple edging with bricks, logs, or a wooden frame to keep the bed tidy and prevent mulch spillage.
Troubleshooting Your No Dig Garden
Even a low-maintenance system like a no-dig garden has a few rules to keep it going. Most errors come from trying to rush the process or skipping critical layers. Fortunately, these mistakes are easy to prevent and correct.
- If you skip the weed barrier, grass and invasive plants will find a way through: Cut pieces of cardboard to fit around existing plants and lay them down between rows. Cover with a thick layer of mulch to block light and smother new growth.
- If you use raw manure, which is often too high in nitrogen and ammonia content, it will burn through young roots and introduce pathogens: Stick with aged manure that’s been composted for at least six months. Any fresh manure used should be diluted with additional carbon-rich material like straw or dry leaves and hold off on planting until it breaks down.
- If you’re overwatering, you’ll suffocate your roots and if you’re underwatering, you’ll dry out the microbial network: Check soil moisture by sticking your finger into the compost layer. Water deeply when dry a couple of inches down, ideally in the early morning.
- If you forget to mulch, your bed will dry out quickly and lose nutrients to the sun and wind: Add a fresh 2–3 inch layer of straw, shredded leaves, or untreated grass clippings. Reapply monthly as the material breaks down.
Your Garden, Your Upgrade
In just two days, you can transform a neglected patch of yard or even a few square feet of unused space into a living system that grows food, builds soil, and lowers stress. No-dig gardening strips away the complexity and lets you focus on the essentials: sunlight, organic matter, and time. That’s it. You’ve just built something regenerative and aesthetically beautiful that will feed you as long as you maintain it.