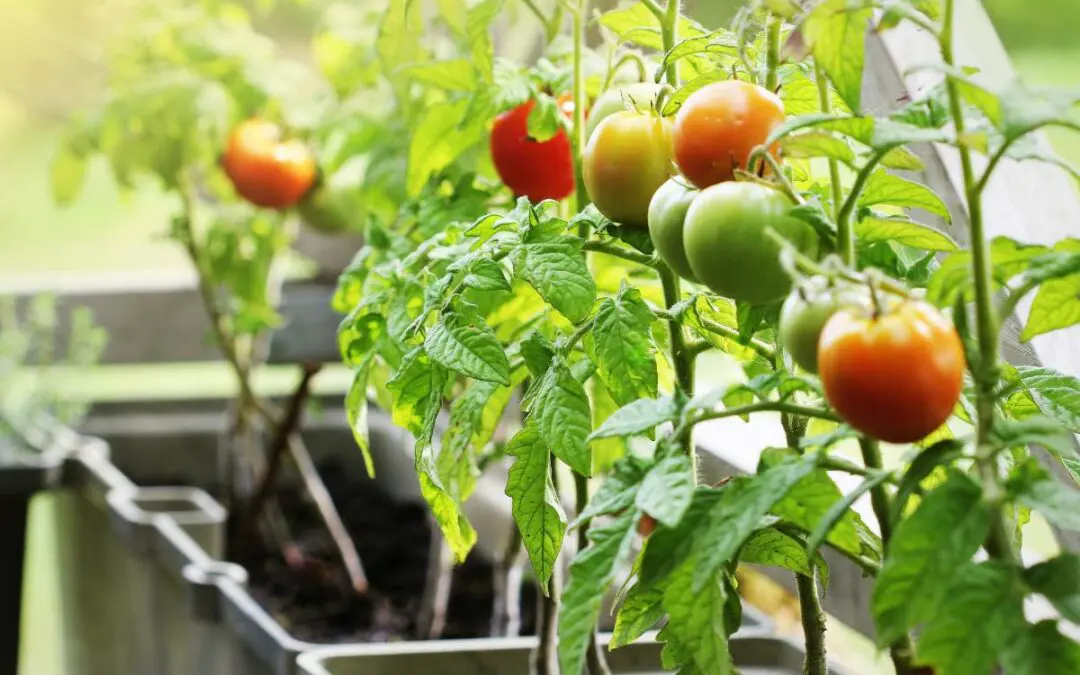
The rise of apartment-gardening influencers and the sheer number of tomato-plant time-lapses are proof that the grow-your-own movement isn’t just for people with sprawling backyards. Even if your only outdoor space is a windowsill or the fire escape, container gardening makes it possible to grow fresh greens, juicy cherry tomatoes, or a handful of herbs to toss into dinner.
Container gardening is growing plants in pots, tubs, or other movable vessels rather than directly in the ground. This low-cost, high-reward method helps you reconnect with your food, reduce waste, and even improve your focus and mood. The best part? You don’t need a yard. You just need the right tips… and the willingness to start.
Tip #1: Choose the Right Containers for Your Space and Plants
Most beginner gardeners make the mistake of thinking any old pot will do, but the container you use directly affects root growth, moisture balance, and whether your plant dies a slow, soggy death. Essential rules you need to follow include:
- Match container size to plant type: Deep-rooted vegetables like tomatoes and peppers need at least 5 to 10 gallons of container space. Herbs, arugula, and lettuce do just fine in compact 1- to 3-gallon pots. This is because smaller pots dry out faster, and large plants in small pots become root-bound and stunted.
- Container material matters: Plastic retains moisture but can overheat in direct sun, and clay breathes but dries out fast. Fabric grow bags offer an all-purpose option that is breathable, affordable, and collapsible for storage.
- Don’t skip drainage: No matter what container you choose, it must have holes at the bottom. If not, water will pool and rot the roots, and no plant will survive these swampy conditions. For bonus points, use pot feet or bricks to lift pots off the ground and improve drainage.
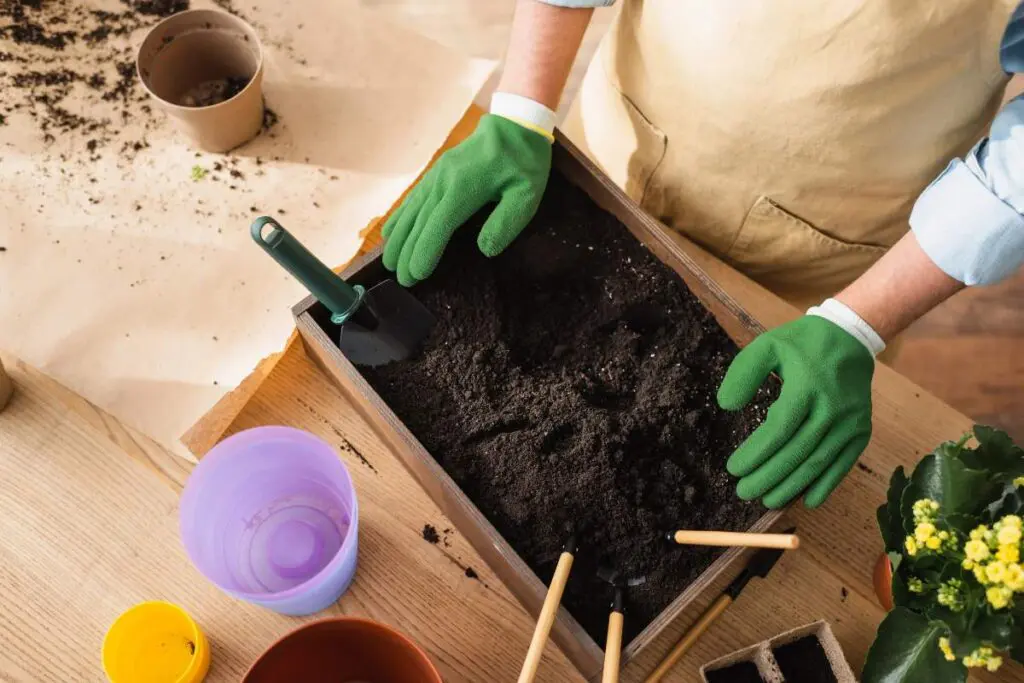
Tip #2: Use Potting Mix, Not Garden Soil
Shoveling dirt from your yard and dumping it in the container is not gardening. Garden soil compacts inside containers, chokes roots, and kills airflow. However, potting mix is specifically designed to stay loose, drain well, and retain the proper amount of moisture.
When choosing potting mix, skip anything labeled “topsoil” or “garden soil.” These are meant for in-ground use. Instead, aim for: 60% peat moss or coir, 30% perlite or vermiculite, and 10% compost or worm castings. For extra performance, mix in a slow-release fertilizer or a handful of finished compost to feed your plants over time without constantly micromanaging nutrients.
If you’re using last season’s potting mix, it needs a refresh. You will need to add new perlite and compost, and make sure it hasn’t gotten hydrophobic. If it has, soak it thoroughly before replanting.
The point of potting mix is that your soil is alive with microbes, mycorrhizae, and fungal networks that feed your plants from the ground up. To support your own system the same way, try CHOQ’s Seven Wonders, a blend of seven adaptogenic mushrooms including Reishi, Cordyceps, and Lion’s Mane.
Tip #3: Match Plants to Light Conditions
Light is fuel. Without it, leafy greens flop, herbs lose flavor, and fruiting plants never set fruit. You need to understand your light situation and choose plants that thrive there:
- South-facing spaces get full sun (6+ hours): basil, tomatoes, peppers, strawberries.
- East- or west-facing spaces get partial sun (4-6 hours): chives, spinach, radishes, arugula.
- North-facing spaces get low light (less than 4 hours): mint, parsley, lettuce, cilantro.
In some cases, plants may need excessive light, up to 16 hours a day, such as fruiting plants. In other cases, you may have low-light spaces that need a bit of support. Either way, a full-spectrum LED grow light is the solution to ensure your garden gets the light it needs.
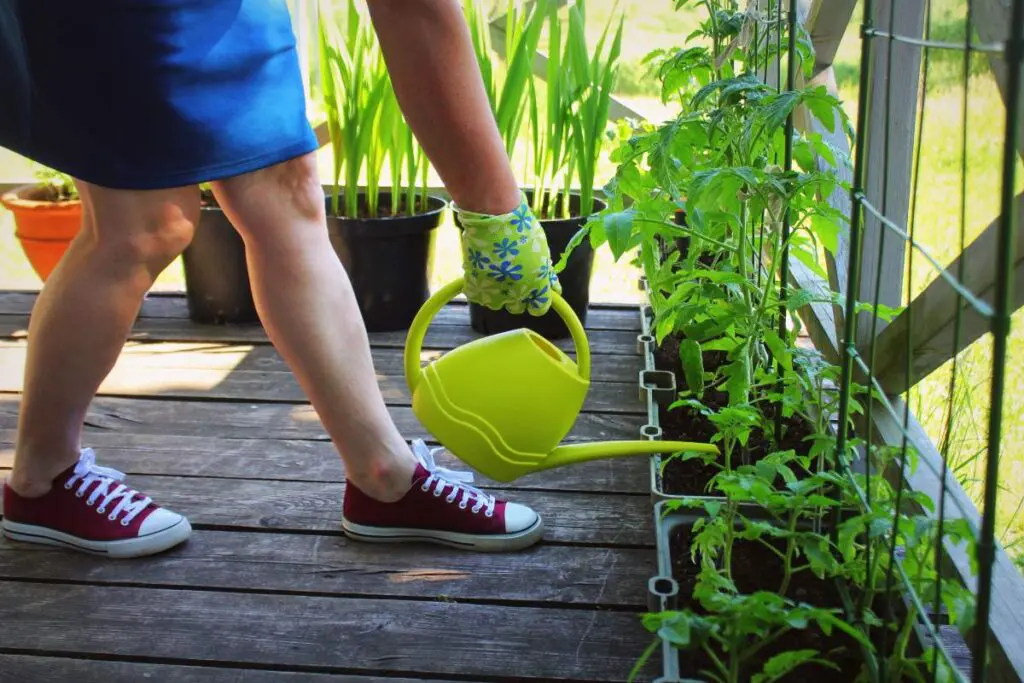
Tip #4: Create a Simple Water Routine to Avoid Overwatering
Overwatering kills more container plants than underwatering ever will. Unlike containers, in-ground gardens have drainage and soil ecosystems that self-regulate. Every drop you add stays in the confined space, so your routine needs to be perfect:
- Water early in the morning or evening to minimize evaporation.
- Use a narrow-spout watering can or squeeze bottle for control, especially indoors.
- Add mulch (like straw or shredded leaves) on top of the soil to slow down moisture loss.
- Try a self-watering container or a drip system for a more hands-off option.
The simplest test to know your container’s watering conditions is the finger test. Stick your index finger about an inch into the soil. If it feels dry, it’s time to water. If it’s even a little damp, wait. Additional signs to know you’re overwatering include yellowing leaves, fungus gnats or mold on the soil surface, and mushy stems at the base.
Tip #5: Start with Easy, Fast-Growing Plants
When you’re getting started, skip the hard stuff. Coaxing watermelons from a window box is a fast-track to frustration… you need small wins. At first, avoid root vegetables because they need deep, loose soil and patience, corn because it needs lots of space and wind pollination, and melons or pumpkins because they sprawl and require hand-pollination. Focus on fast, forgiving plants that build confidence and actually produce:
- Basil, cilantro, mint, and chives grow quickly, smell amazing, and elevate whatever you’re cooking.
- Leafy greens like spinach, arugula, and loose-leaf lettuce grow fast, tolerate partial shade, and bounce back after trimming.
- Cherry tomatoes, strawberries in hanging baskets, or bush beans are ideal options if you want fruit.
Your Container Garden Starts Now
With a handful of containers, some sunlight, and a few smart choices, your kitchen counter or fire escape can become a productive micro-garden. A container garden allows you to reclaim agency and turns the passive act of buying into the active practice of growing. So pick up a pot, drop in some (potting) soil, and build your container garden today.