Groceries cost more than they did even a year ago, and you’re, no doubt, feeling that pinch while tossing out wilted greens and half-eaten leftovers. Add in the mental load of planning meals, cooking after a long day, and trying to actually eat those veggies before they melt into slime at the bottom of the crisper drawer. Food preservation is the answer!
No, no, you’re not canning for the apocalypse. Learning how to preserve food gives you back your time, money, and sanity. Read on to learn simple preservation habits to help you feel more grounded and resilient… all without overhauling your lifestyle.
Why Food Preservation Belongs in Every Modern Kitchen
There are a number of reasons why food preservation is an essential skill. Think about the mental gymnastics it takes to plan meals around what’s about to expire, or the frustration of opening a container only to find mold. Food waste creates guilt and decision fatigue. Preserving food interrupts that cycle by making sure your meals aren’t tied to a ticking expiration clock. It allows you to make calmer and clearer choices, ultimately building a system that extends the life of your food and the bandwidth of your mind.
There’s also something deeply satisfying about making things last. It reconnects you with the value of the food you bought and probably worked hard to afford. Most importantly, it’s a habit that pays for itself. Once you have a few simple tools and techniques under your belt, food preservation becomes second nature. In an economy where every dollar matters, that’s essential.
Think of food preservation as building a system of defense against waste, chaos, and decision fatigue. Your immune system needs the same kind of backup. CHOQ’s Armor blends quercetin phytosome, astragalus, and andrographis to help support your body’s daily detox and immune protection layers.
Essential Preservation Starter Kit
Preserving food is easier than you think. All you need is a small set of tools that earn their keep, things you’ll reach for weekly, not just when inspiration strikes. With these essentials on hand, you’ll waste less, spend less, and gain new confidence in your kitchen:
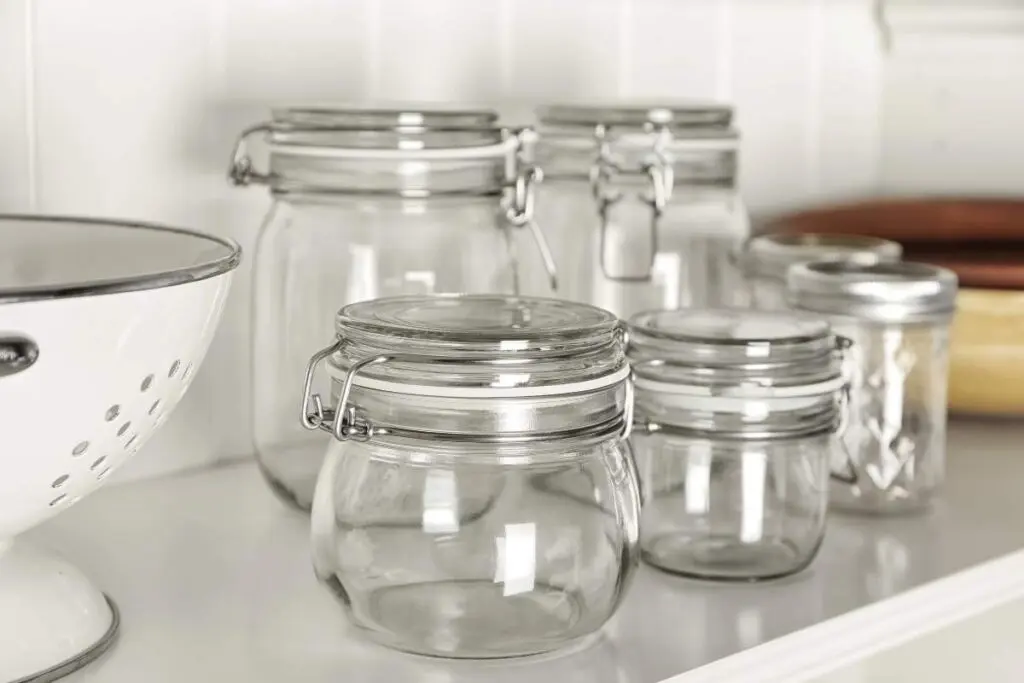
- Mason jars or repurposed glass jars: Use these for pickles, ferments, sauces, and dry goods. Choose a wide-mouth for easier filling and cleaning.
- Freezer-safe bags or containers: Go for reusable silicone bags or BPA-free plastic. Just make sure they seal well.
- A roll of painter’s tape or labels + a sharpie: Label everything with contents and date so you’ll never again wonder what that mystery block in the freezer is.
For food preservation, you will also need ingredients that extend shelf life. Stock your pantry with: white vinegar for pickling, kosher or pickling salts to draw out moisture in ferments and curing, and sugar to preserve jams, chutneys, and syrups. If you really want to level up, tools like a vacuum sealer, dehydrator, and fermentation weights or lids can make things even easier.
Quick-Start Methods That Anyone Can Use
The most powerful preservation methods take less effort than cooking dinner and deliver big returns. This section walks through the most practical, beginner-friendly preservation techniques. So stop throwing your money away and start building a kitchen that does the hard work for you.
Freezing
Freezing is the easiest way to preserve food and is too often overlooked. If you’re short on time or energy, this is the move: it gives you breathing room, reduces midweek stress, and makes you less likely to order takeout because you have “nothing to eat.” Some high-impact foods that freeze particularly well include: soups, stews, cooked rice, quinoa, lentils, berries, and chopped fresh herbs. Also consider the following tips:
- To avoid the dreaded freezer mystery bags, make sure you label everything with the contents and the date using painter’s tape and a Sharpie.
- Make sure you free food in flat bags when possible to save space and help quicken the thaw.
- Reduce air exposure to extend shelf life and preserve texture by using freezer-specific containers, removing as much air as possible from bags, and keeping your freezer at -18°C.
- Cooked foods last 2 to 3 months at peak quality, while herbs, fruits, and raw items last even longer.
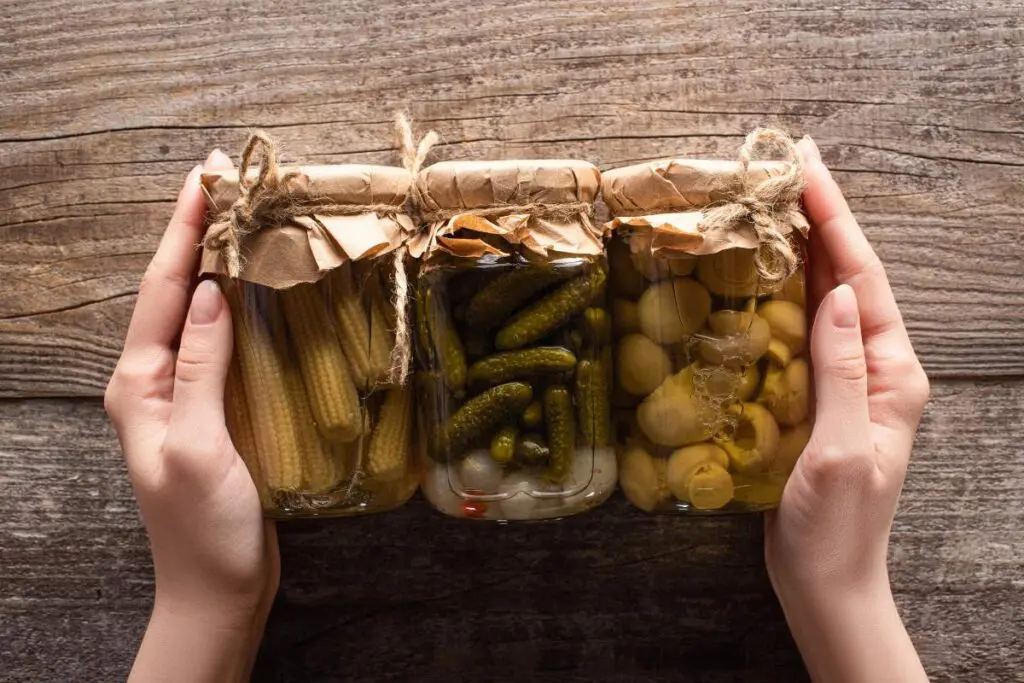
Pickling
Pickling turns on-the-edge produce into something tangy, crunchy, and shelf-extending in under fifteen minutes. Quick pickles live in the fridge, require zero special equipment, and work best with red onions, shredded carrots, cauliflower florets, or watermelon rind:
- Start with a simple brine: 1 cup water, 1 cup vinegar (white, apple cider, or rice vinegar work best), 1 tablespoon salt, and an optional 1 tablespoon of sugar, garlic, chili flakes, dill, or peppercorns for flavor.
- Bring the brine to a boil, pack chopped veggies into clean jars, and pour the hot liquid over the top.
- Let them cool to room temperature, then refrigerate.
- Most quick pickles are ready to eat in 24-48 hours and keep for a few weeks.
Shelf-stable pickles require a proper canning process with sterilization and airtight seals. It involves processing filled jars in a boiling water bath for a specified amount of time to kill harmful bacteria and create a vacuum seal. It’s a bit more effort, so make sure to use tested recipes from trusted sources to ensure safety, especially when using low-acid veggies.
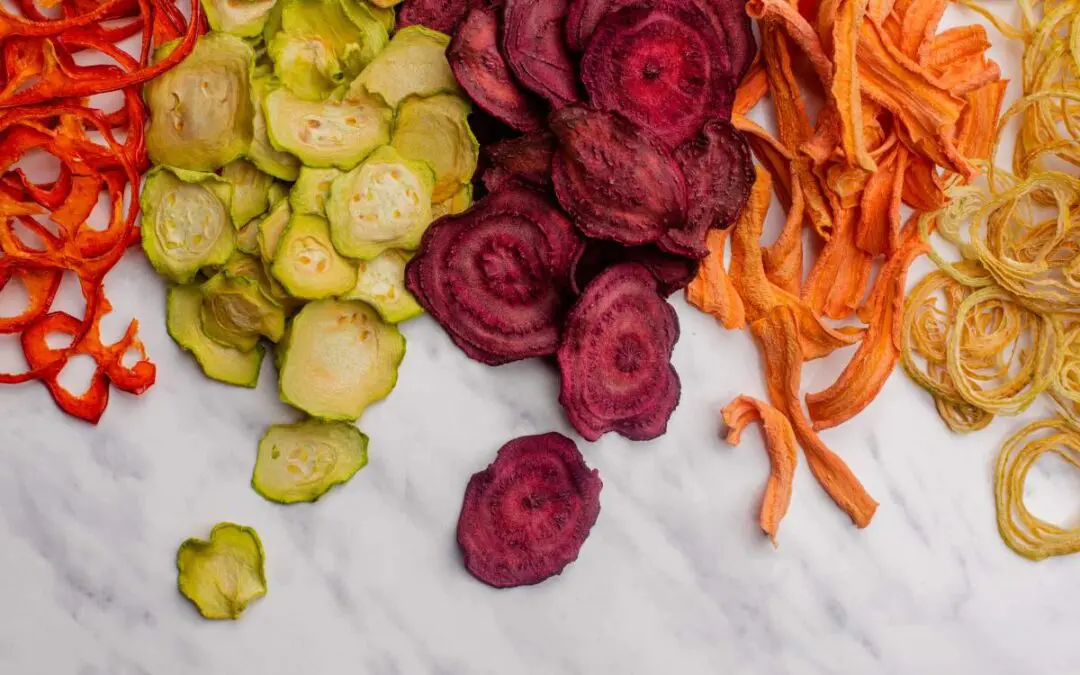
Dehydrating
Dehydrating strips the moisture from food, making it impossible for bacteria, yeast, or mold to grow. What’s left is a lightweight, shelf-stable version of your original ingredient. Foods that work particularly well include: sliced apples, bananas, or pears; leafy greens like kale or spinach; citrus peels or herbs for teas or seasoning blends; carrots; zucchini; and sweet potatoes. Your oven is a great place to start, especially for small batches:
- Slice the food evenly so it dries at the same rate, and preheat your oven to the lowest temperature (usually 170°F/75°C).
- Place the foods in a tray in the oven and crack the door slightly.
- Rotate trays halfway through, keeping in mind that a full dry can take 4-8 hours depending on thickness and water content. You’re aiming for crisp or leathery, not soft or bendy.
- Store your finished product in airtight glass jars or reusable pouches with a desiccant packet if needed.
Fermenting
Unlike freezing or dehydrating, fermenting transforms your food on a microbial level. Your ingredients will produce natural probiotics, deep flavors, and serious shelf life. All you need are clean jars, salt, and time. Begin with forgiving, low-risk ferments:
- Sauerkraut: shredded cabbage and salt, packed into a jar
- Yogurt: milk and a spoonful of plain yogurt as a starter
- Kefir: milk or water + kefir grains (starter cultures)
Consider these tips to make sure that your ferment turns out great:
- For sauerkraut and other veggie ferments, use a 2% salt brine (about 1 tablespoon of salt per 2 cups of water) and press down the veg so it’s fully under the brine.
- Fermentation typically takes 3–7 days, depending on your kitchen temperature and taste preference.
- You’ll know it’s working if you see bubbles, get a slightly sour smell, and notice the flavor deepen.
- Mold is a dealbreaker, so toss it if you see fuzz, but cloudy brine or harmless yeasts (like a thin white film) are totally normal.
Your Five-Minute Starter Plan
Food preservation is a common-sense approach to getting more value out of what you already buy, cook, and eat. It provides a simple system to help you act before things go bad. That bag of spinach you meant to use, the soup you swore you’d finish, the fruit you forgot… consider those in the past. It’s time to try out preservation: it keeps your kitchen humming, your budget steady, and your stress levels way down.